
Printing With Ink and Plates on a Human Budget!

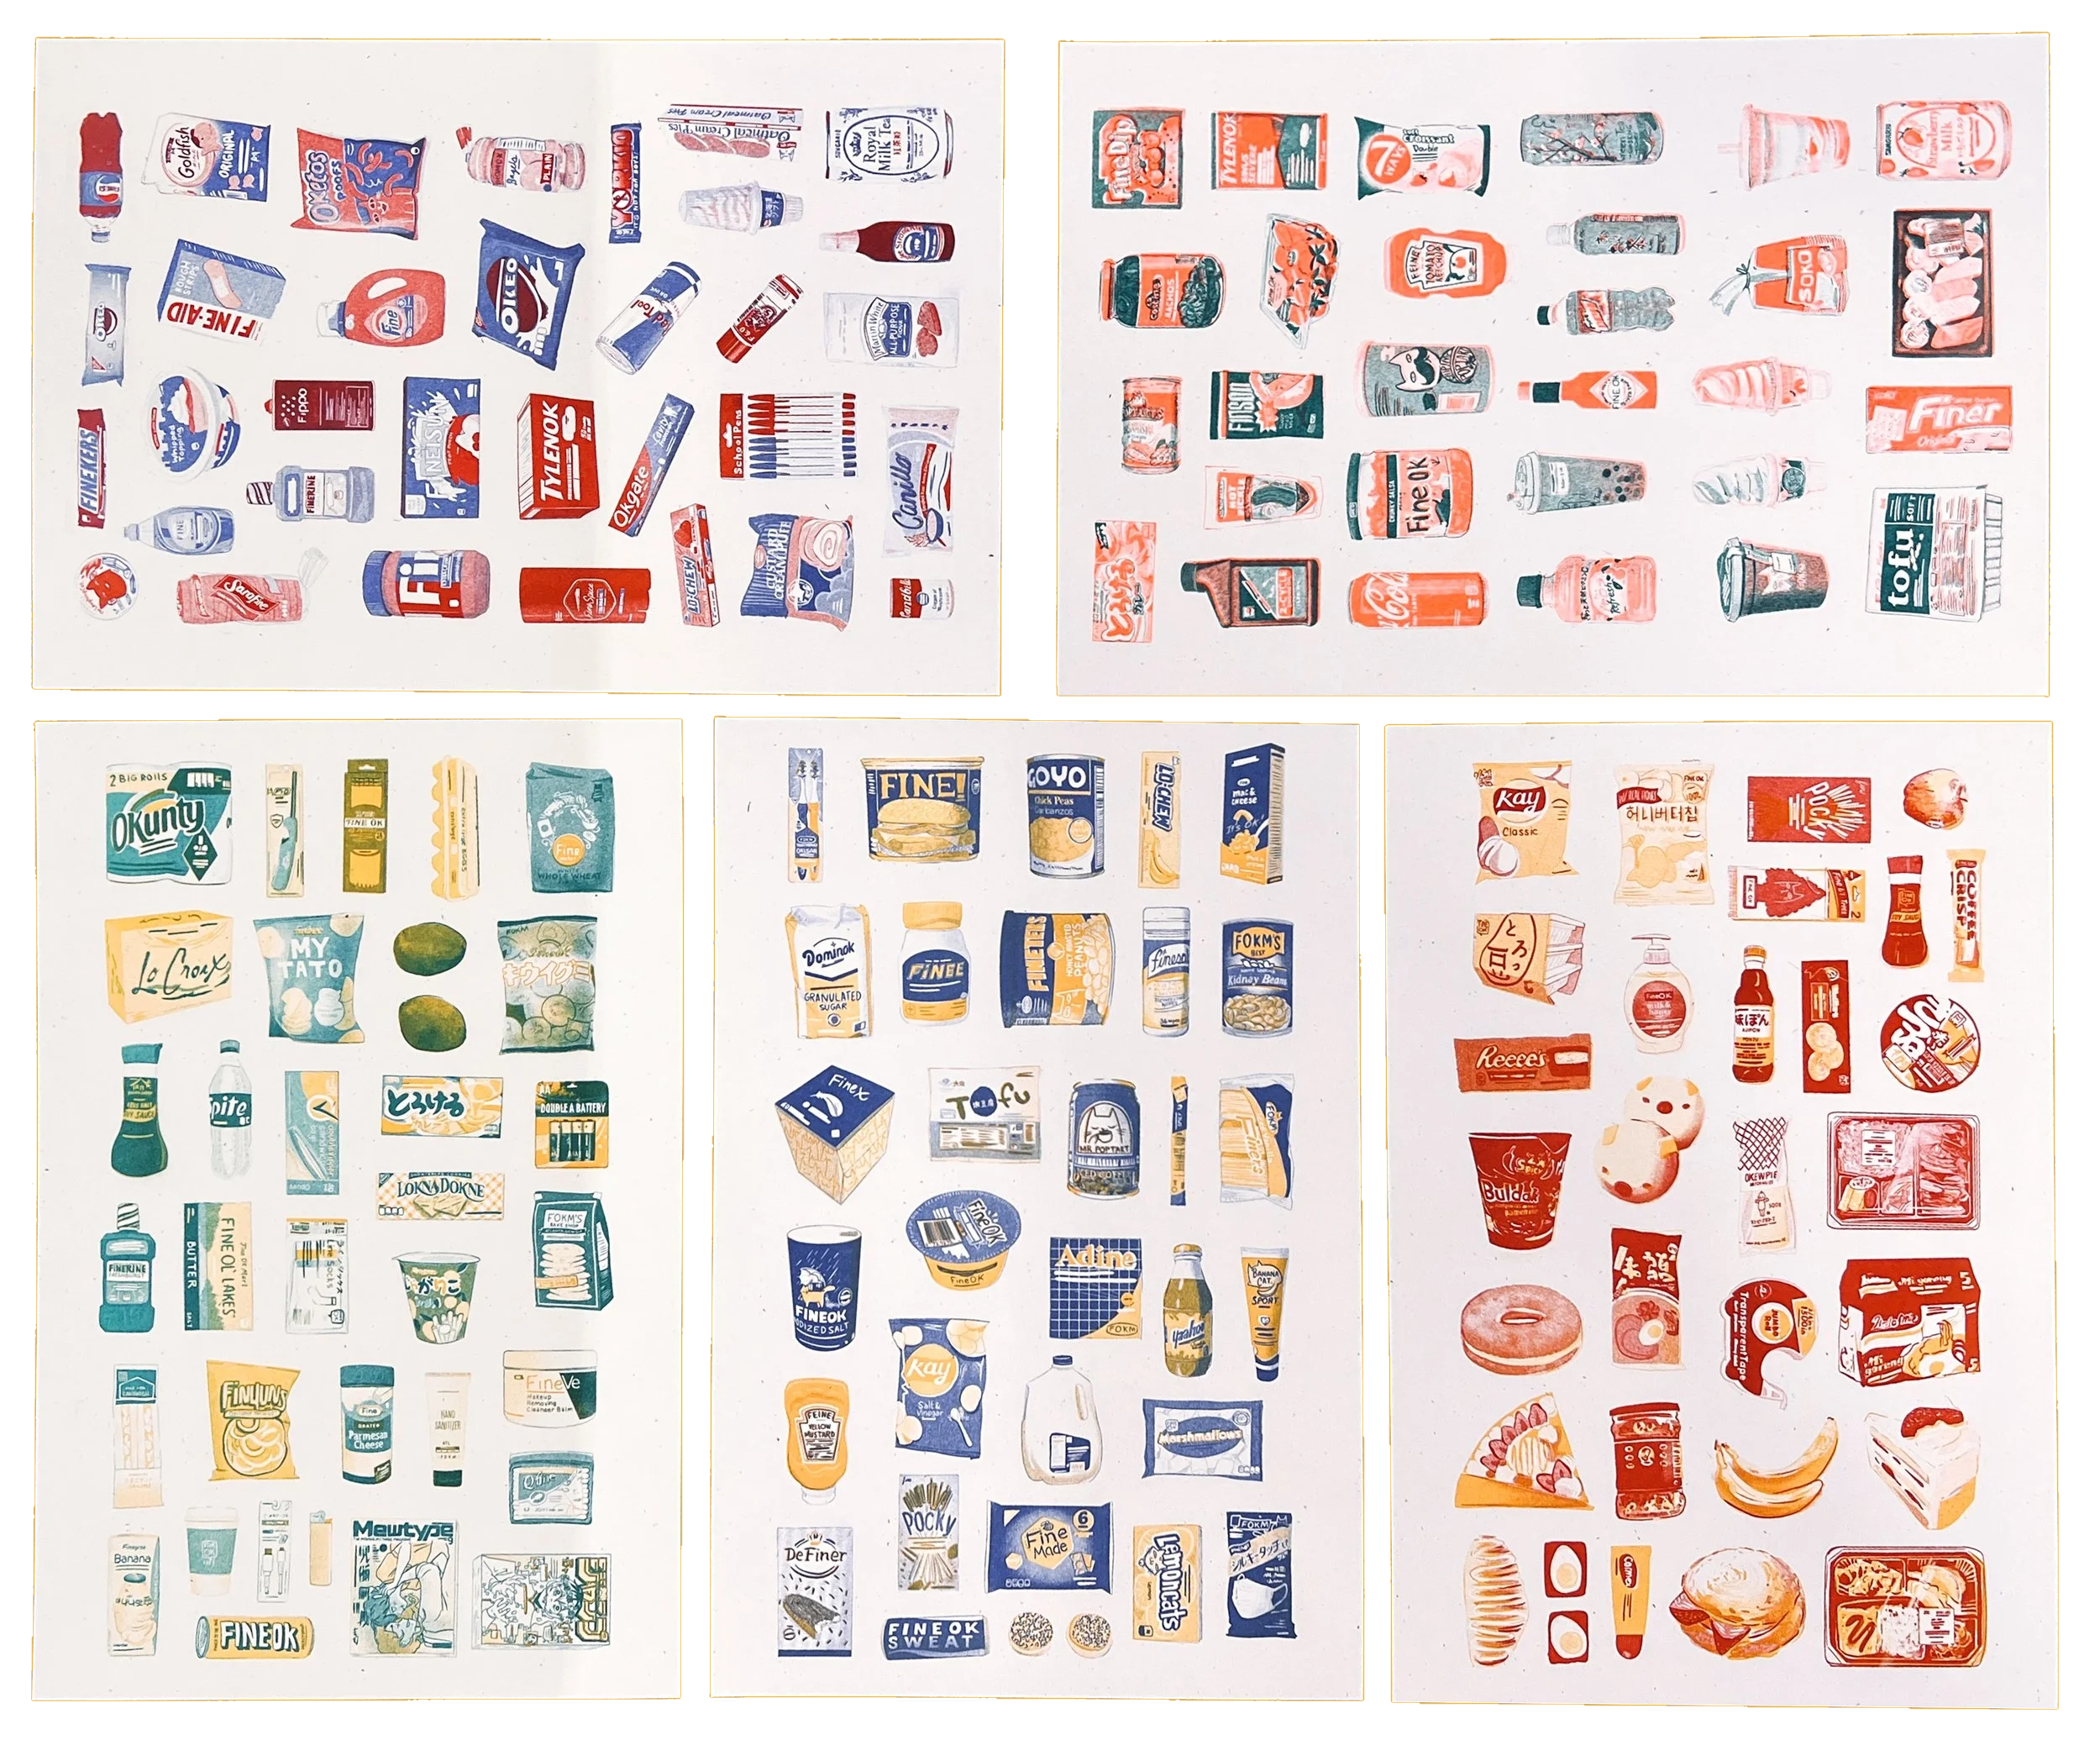
Risograph printing has been around since the 80s, running like a digital screen print more than a digital printer. Risos use “masters,” or paper stencils, to push the ink from the cylinder through to the paper. Registration isn’t perfect and ink coverage is also not perfect. So why is it popular? From the vibrant ink colors to the flat velvety look, these printers are, like it says above, the Polaroid of printing!
✳︎
Art Prints
✳︎
Zines
✳︎
Greeting Cards
✳︎
Postcards
✳︎
Paper Bags
✳︎
Envelopes
✳︎
Flyers and Event Posters
✳︎
Business Cards
✳︎ Art Prints ✳︎ Zines ✳︎ Greeting Cards ✳︎ Postcards ✳︎ Paper Bags ✳︎ Envelopes ✳︎ Flyers and Event Posters ✳︎ Business Cards
Each print may have a different look or slight imperfection that makes them unique compared to traditional digital printing. Without using heat and having a very simple paper path the Riso can also print on a wide variety of paper including paper bags, seed paper, handmade paper, and more! Please bring a few samples of your stock if you want to test something out and see if it will run. Anything coated or slick will not work due to the ink never drying on the stock (it is WILD! Seriously it NEVER DRIES!).
If you want a perfect reproduction, please talk to us about digital printing! We can still make some pretty funky stuff with way more control over the finished project. WonderPress is all about experimenting and making unique ideas come to life. The Riso is only one arm of our ever evolving production capacity! Let’s talk and make something weird!



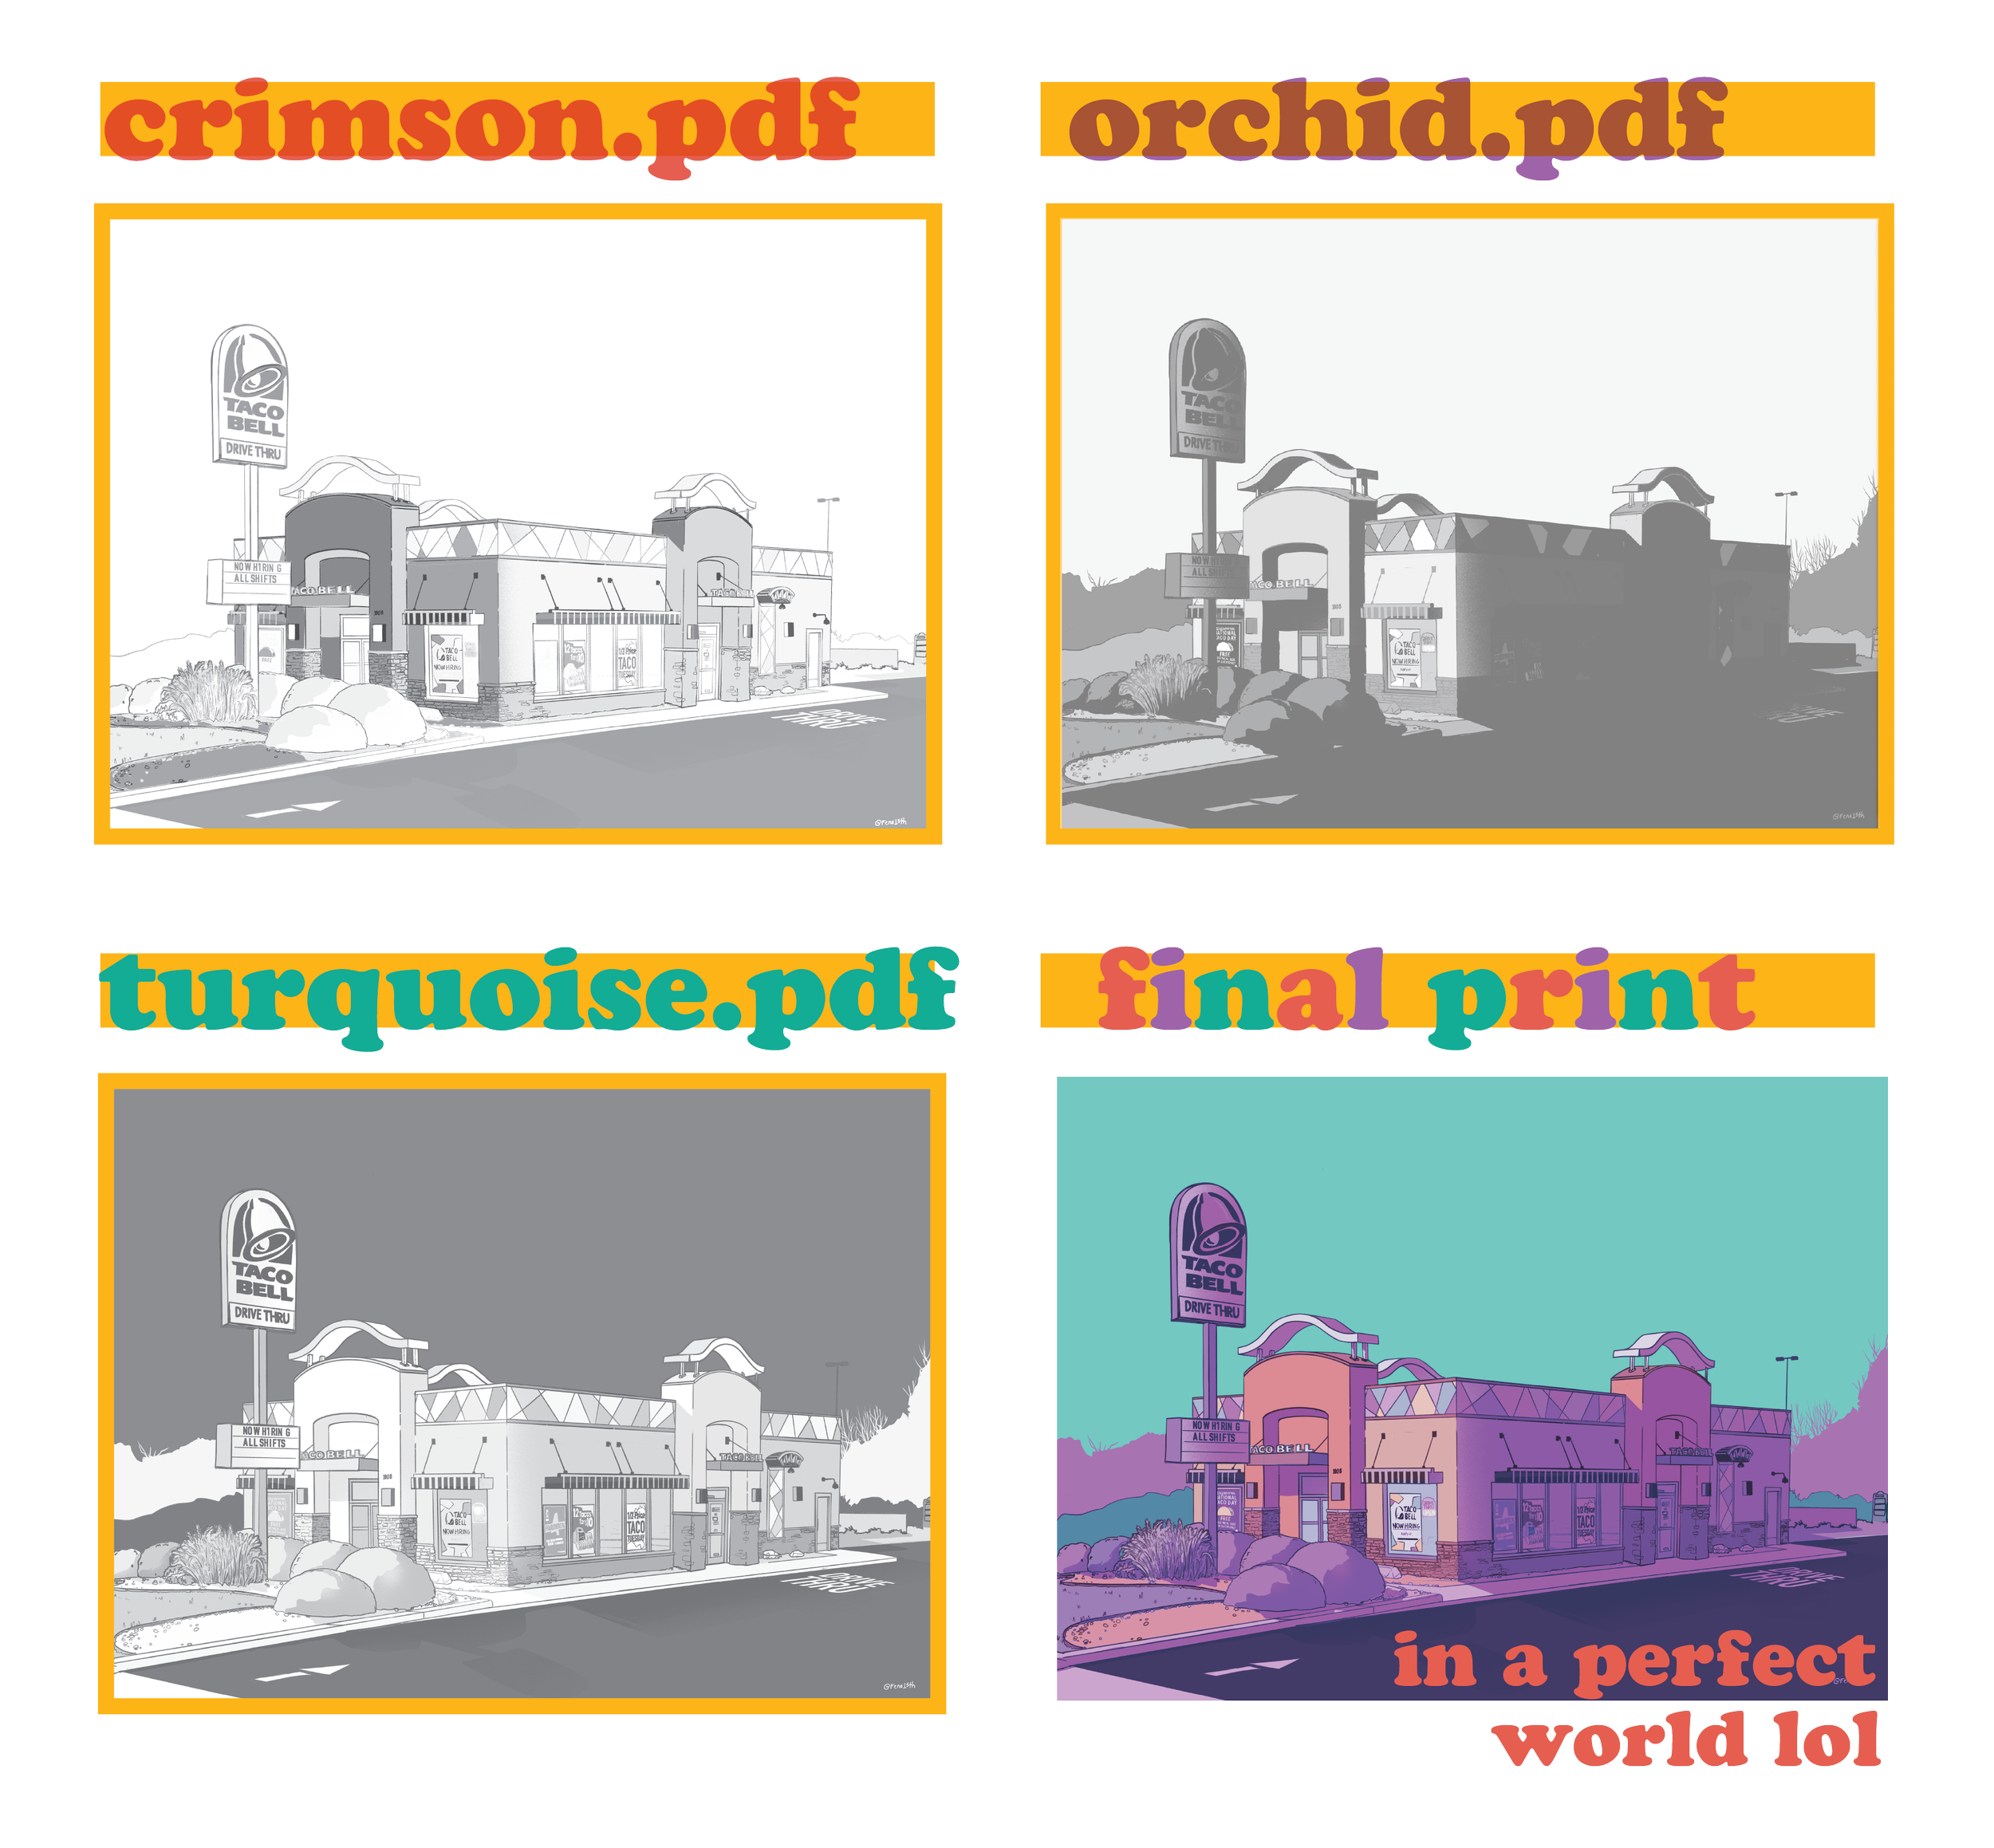
The examples here shows three plates, one grayscale image for each color. The darker the grey, the darker color will print. Keep in mind HOW MUCH ink is used. A good amount of white space is good so the rollers do not track much ink on the prints. Try not to go too heavy, let the inks and paper breath. Any large swaths of ink should not exceed 80% grey, 100% is too heavy and will never dry properly.
Cleanest results are 2 color prints, but we can print up to 4. Our machine can print 2 colors in one pass, so 3-4 color prints will have A grade and B grade prints as the machine shifts around in the process. You can also tell us what colors are the most critical and we will print those first/line up the second pass with the critical parts in mind. (Example: character art but the iris and pupil are separate colors from the eye lids, the eyelids might be in the second pass so the pupils always stay centered to the iris.
To create a file to print (DIGITAL)
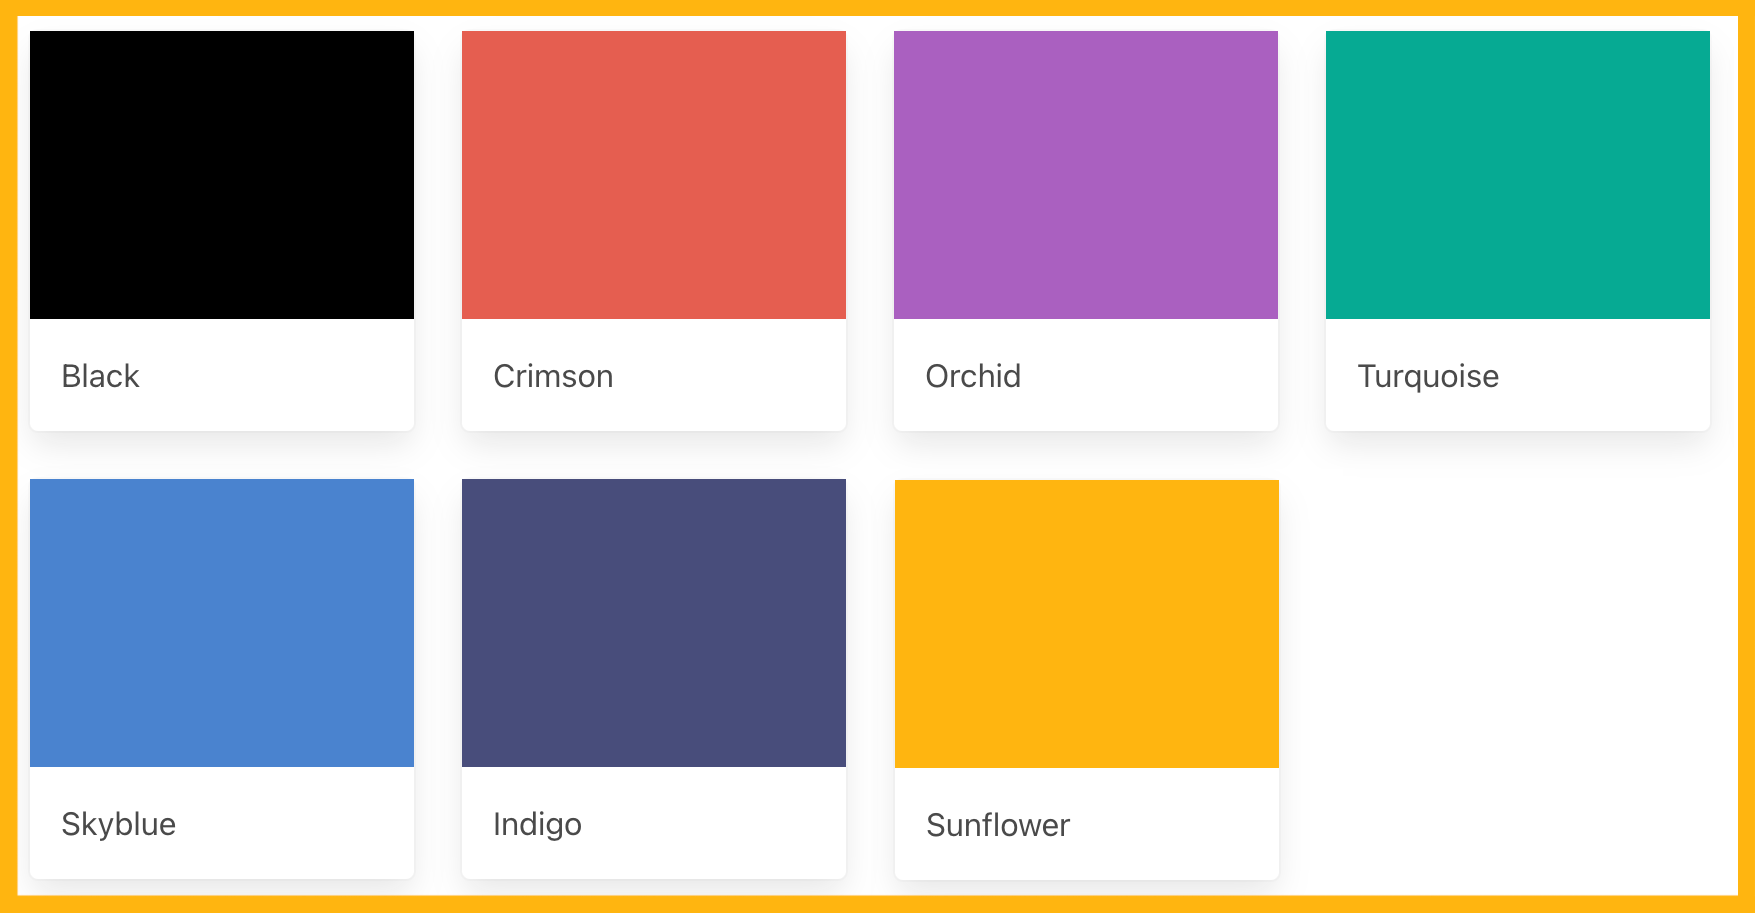
There are plenty of ways to make workable files, if you are proficient in photoshop search “Separating Colors Using Channels for Riso Printing” or create the art using clipping masks representing the color over a black layer. Export each black layer individually as PDFs and we can use those to make plates! There are many other ways to make files, though! Long as the final result is greyscale single colors we are golden!
If you have already made the file and cannot manually separate the layers, the next best option we recommend using the free-to-download app Spectrolite (and install the above inks into the “INK” tab) PDF preferred.
Look at each of the plates you are given and think about how the ink will lay. It isn’t perfect, they might need to be edited to use PURE color in spaces you want them to be. But this is a great starting point.
For a fee, you can send the art for us to edit and we can send a digital proof. Remember these are not perfect representations of the final. A digital proof of what you’re hoping the image will look like will give us something to compare to!

The cost to print with Riso works a bit differently than our other printers. For setting up a print that uses one (1) color on one side of the page, the setup fee is $10. Every additional color on either side of the page will add $5. This is because for each color a new ink drum needs to prepared - this setup fee reflects that labor. Price after setup will be quoted per project based on yield from 11x17 sheets.